Wednesday, May 30, 2012

First Pieces of Terrain

     I've really enjoyed playing Warmachine and getting to know a few of the guys that play there a little bit. I would really like to get some games going here at my place this summer. As much as I do enjoy playing at the shop, I'd prefer a relaxed game in a more comfortable setting with a beer in one hand and a tape measure in the other. But in order to do that, I've got to have something to play on. I decided to build a playing surface and get started on some terrain. I wanted to go super cheap on the both the playing surface and the terrain. For the playing surface I just bought a 4'x 8' piece of 1/8" hardboard and cut them into 2'x 4' sections so it would be easier to store. Next, I just purchased a bit of green felt from the fabric store and used spray adhesive to attach the felt to the hardboard. I made three pieces so I could use two to make a
4' x 4' board for Warmachine or three pieces for a 4' x 6' board for Warhammer. It's not the most ideal playing surface, but it works and it only cost me about $20.


     For terrain I picked up a 2' x 8' pieces of blue insulating foam. You can get this at Lowes or Home Depot for pretty cheap. I used my Woodland Scenics hot wire to cut irregular shapes into the foam to create terrain. I also used spray adhesive to glue multiple layers of foam on top of each other to get more height out of my piece of terrain. These are the first two pieces I came up with.

On this first piece I shaped three pieces of the 1" thick foam with the hot wire, glued them together with spray adhesive, and put a little woodland scenics foam putty on it to fill some seams and give it a little more texture. I also sanded the top edge and a few other places with some 220 grit sand paper to taper some edges down a bit.


On this next piece I shaped three small pieces of foam this time though splitting them in half to get the wall thickness to about a half inch. I also cut a piece of foam core for the base and tapered the edges down with sand paper. I made the grooves in the wall with a ball point pen and just pressed into the foam. Lastly I glued the pieces onto the base.


Here are the two finished products. For the stone color I basecoated everything first in black. After that was dry I did a heavy drybrushing of a medium gray. Then I did a lighter drybrush of pure white to hit the highest points and corners on the piece. Lastly I added bits of static grass and sand. All in all it took my about 4 hours to complete both pieces from start to finish.




Monday, May 21, 2012

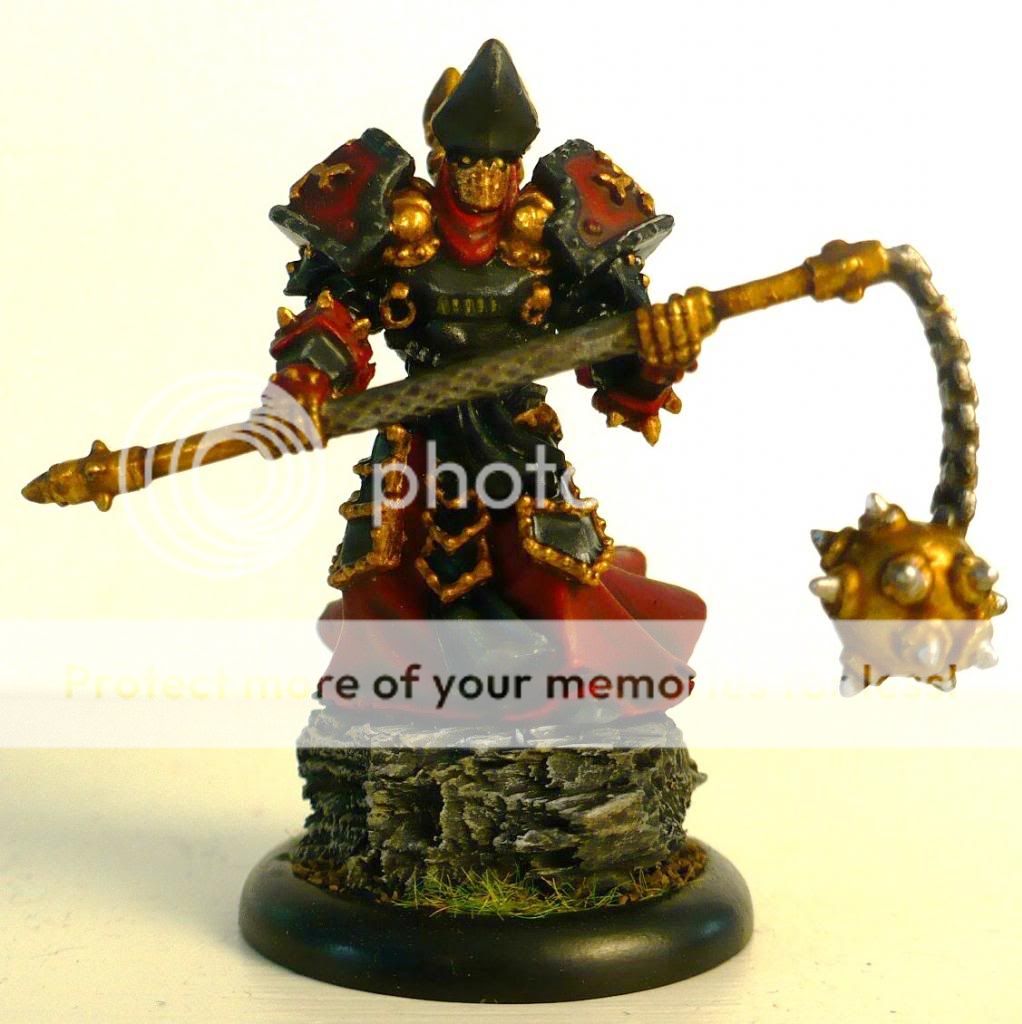
First Protectorate Models Painted

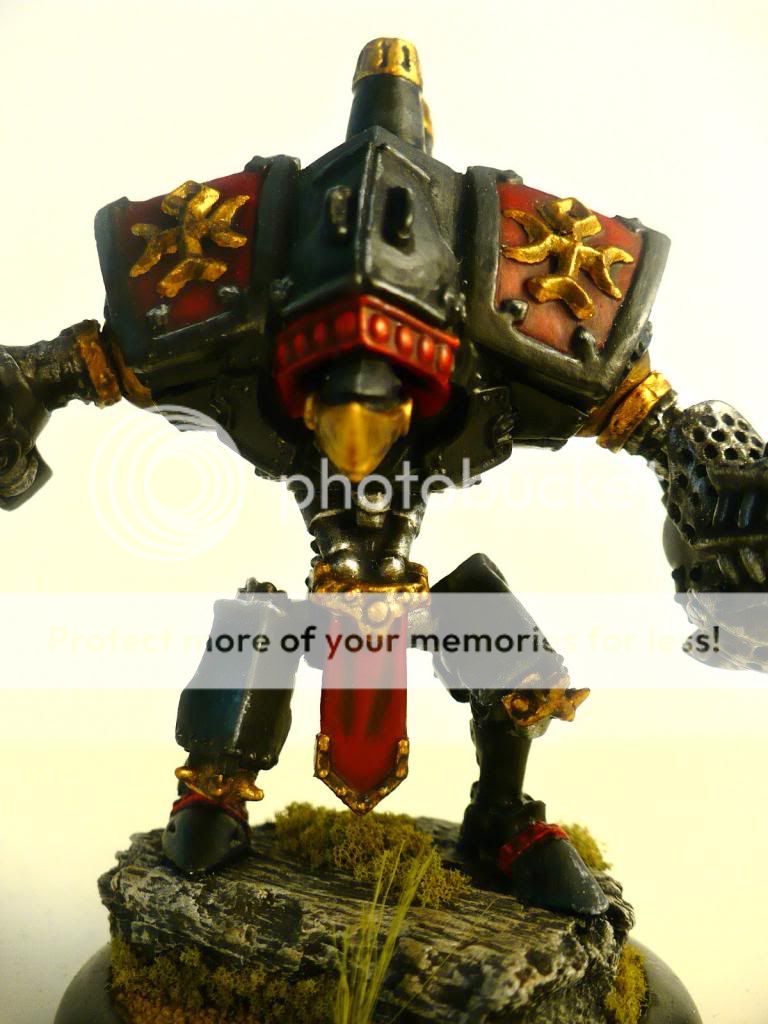
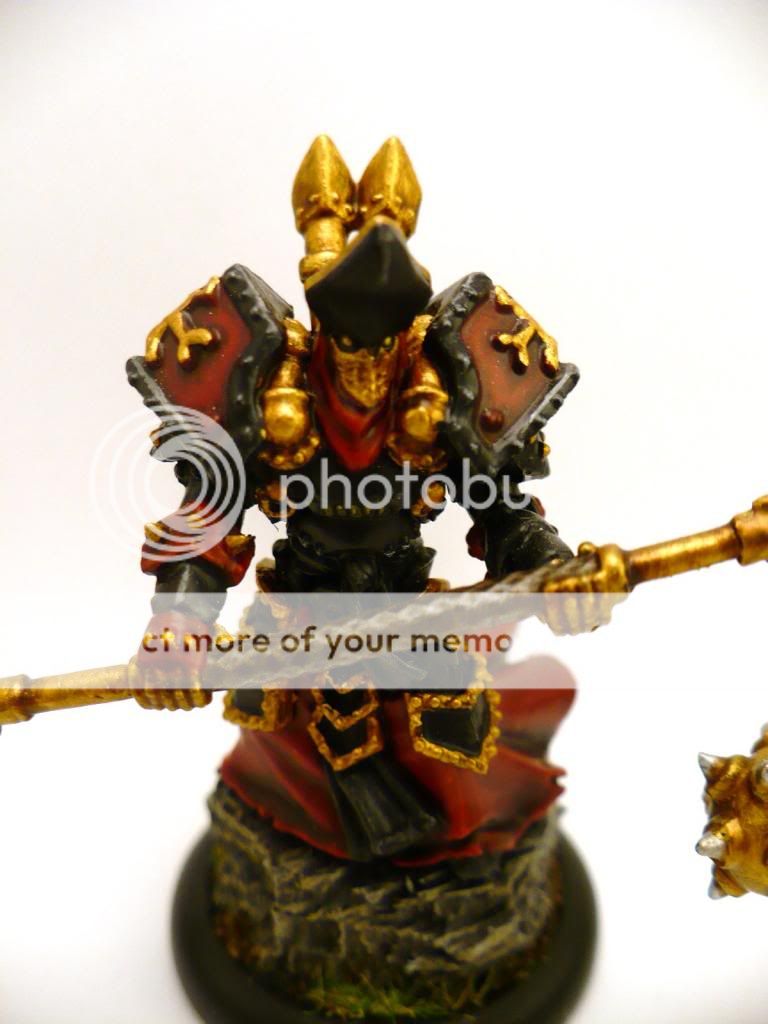
     Spent a fair amount of time thinking about what color scheme I was going to go with for my Protectorate force. I had decided that I definitely did not want to go with the white stock studio scheme. I wanted my army to have a more repressive, regime, religious zealot feel to it and less holy holy holy, lawful goody, paladin, etc. I ended up settling on a primarily black, red, and gold scheme. I had also decided that I was going to take my time painting these models and try and improve my painting skills along the way. I did spend my time on them and practiced different techniques for applying paint, using washes, applying highlights, determining shadows, etc. I wasn't sure exactly how to paint black, shade/highlight it, and make it look good. I read up a fair bit on this and eventually after some trial and error came up with a pretty good system for painting black. I also labored over getting just the right shade of red. I wanted a deep scarlet red. In the end I'm very happy with the way my first models turned out.


Monday, May 14, 2012

My First Games of Warmachine

After getting some models assembled, I made my way to Clockwork Comics on a Monday night to try and get some games in and get more comfortable with playing Warmachine. Everybody was very friendly and happy to help me learn the game a bit better. I got in a couple games and it was a lot of fun. Here are a few pics from one of my first games


Wednesday, April 25, 2012

Assembling Protectorate

     The plan was to assemble the Protectorate half of the battlebox and sell the Khador half; so I got busy. I started with the warcaster, Kreoss and the first heavy warjack. I wanted my bases to look a little more dynamic, so I went out in the front yard and searched for pieces of wood or stone that would work nicely for spicing up my bases a little.

    This first piece I planned on using for Kreoss since it was good size for the base and relatively flat on top for mounting the miniature on. This is just a piece of wood I found in the yard. I cut a notch in the top of it with an xacto for the slot on the model to nicely slide into.


The next piece I used was a much larger piece of wood that I planned on mounting the warjack on. First I glued the piece onto the plastic base. After that dried, I set the assembled jack legs onto the top of the rock and traced an outline of each foot on top of the wood piece.


Next I drilled two small holes through both the wood and the base and than slid two small finish nails through the holes.


I then cut the nails to the desired length I needed them to be.


I then drilled a small hole in the bottom of the jacks feet in the appropriate points to line up with my pins on the base as deep as I could without punching through the top of the foot.


Lastly, I slid him into place on the pegs I created and glued him down. I also used superglue and epoxy putty to help secure the finish nails in place through the base and piece of wood.


Tuesday, April 24, 2012

I Just Want to Play

     It's been really hard to find Warhammer Fantasy players to play my Vampire Counts army with, but I did manage to find a very strong group of Warmachine players that play every Monday at my local game shop, Clockwork Comics in Orange, CT. I love painting minis but half the fun of painting them is knowing you get to field them in games. So, after a bit of research I went with the best bang for the buck to get into Warmachine and bought the 2 player battle box for $75 on ebay and planned to play the Protectorate of Menoth half of the box. I downloaded the quick start rules previously and played a couple proxy games against myself to help me understand the game. I'm impressed with the contents of the box. You get roughly 20pts of models for both Protectorate of Menoth and Khador as well as a mini rulebook, a guide to get you started understanding your models and the game a little better, and a mini issue of No Quarter (Privateer Press' Warmachine magazine).


Friday, April 13, 2012

More ZOMBIES!!!!!!!!!!!! (April 2012)

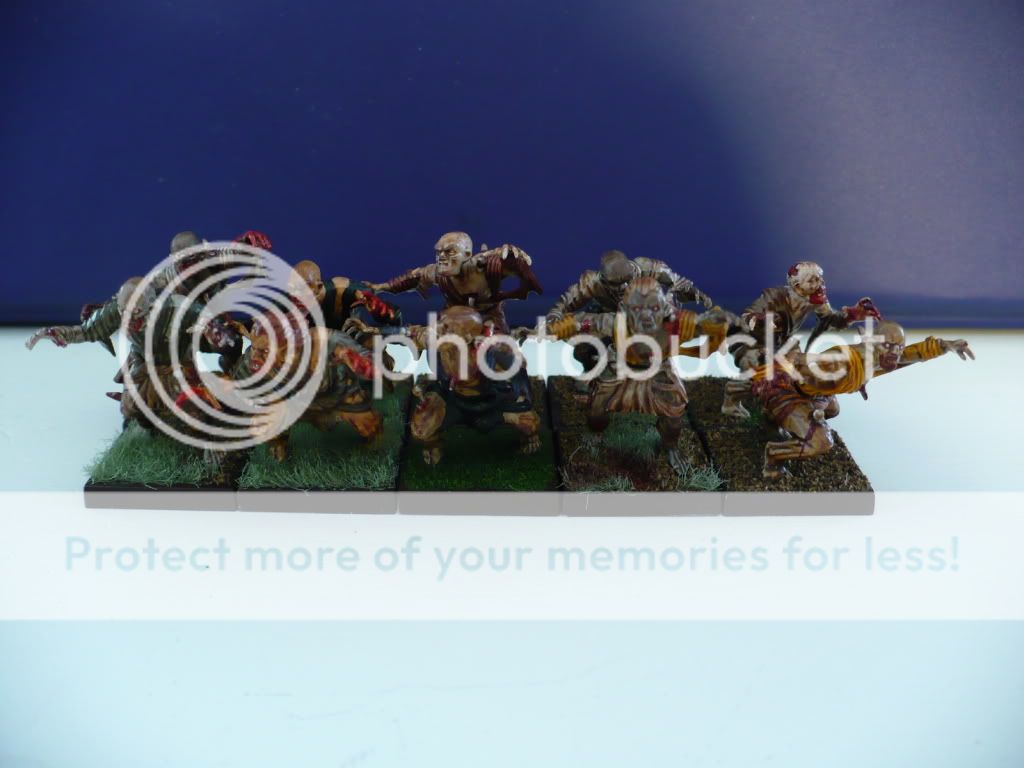
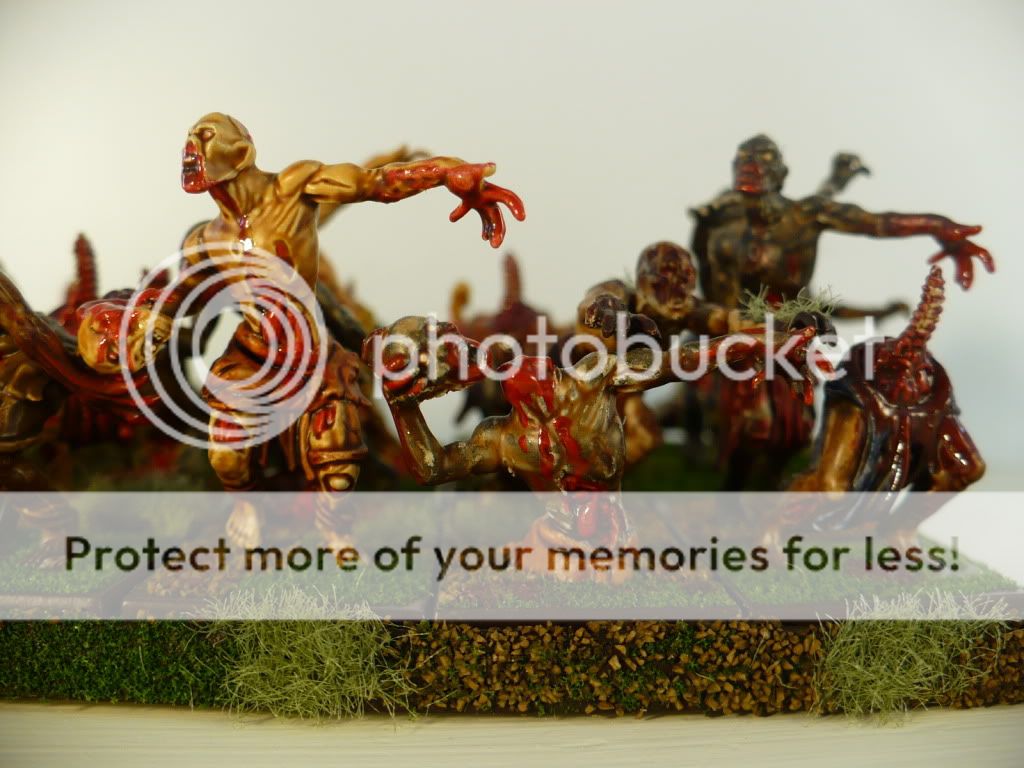
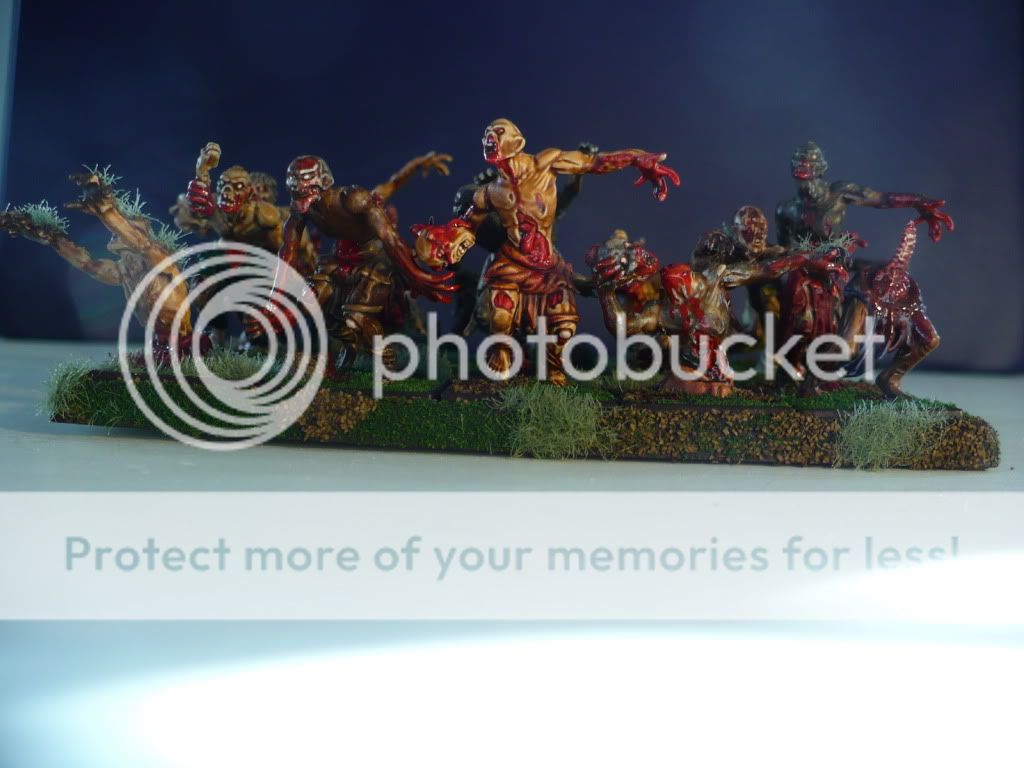
     So, the remainder of the Undead models in the Mhorgoth's Revenge set are the 10 ghouls. However, I just don't see enough distinction between these models and the zombie models to call them ghouls. Sooooo, they will be MORE ZOMBIES!

Here are a couple pics of some models base coated only


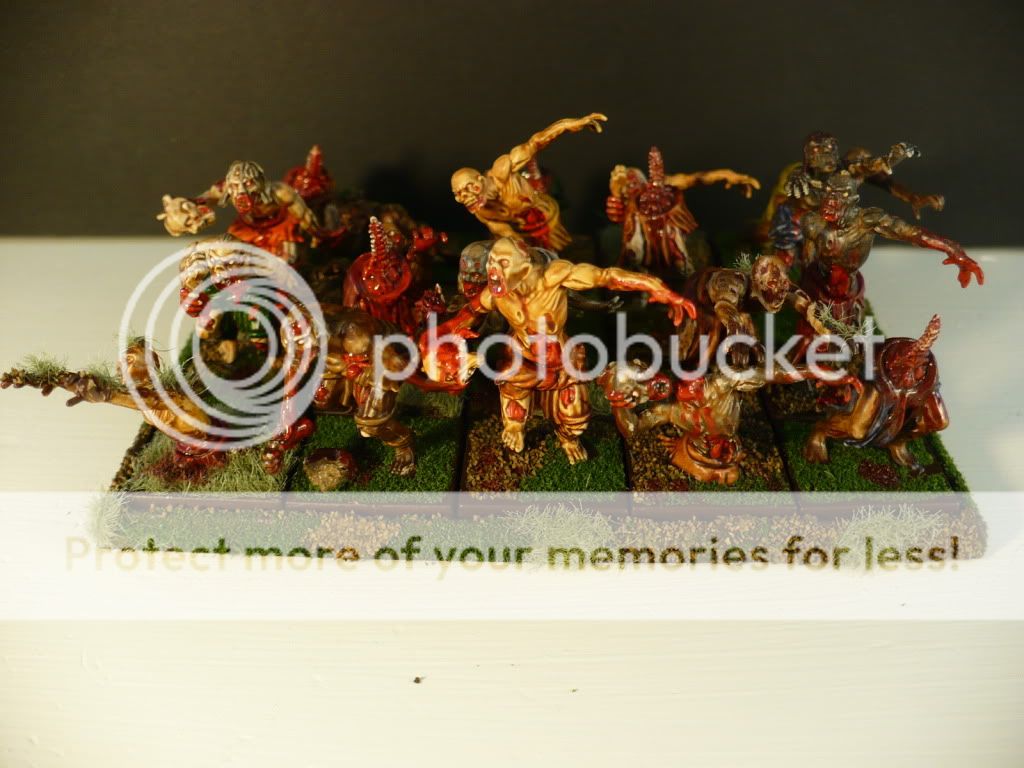
and the finished unit of 10


Wednesday, April 4, 2012

ZOMBIES!!!!!!! (April 2012)

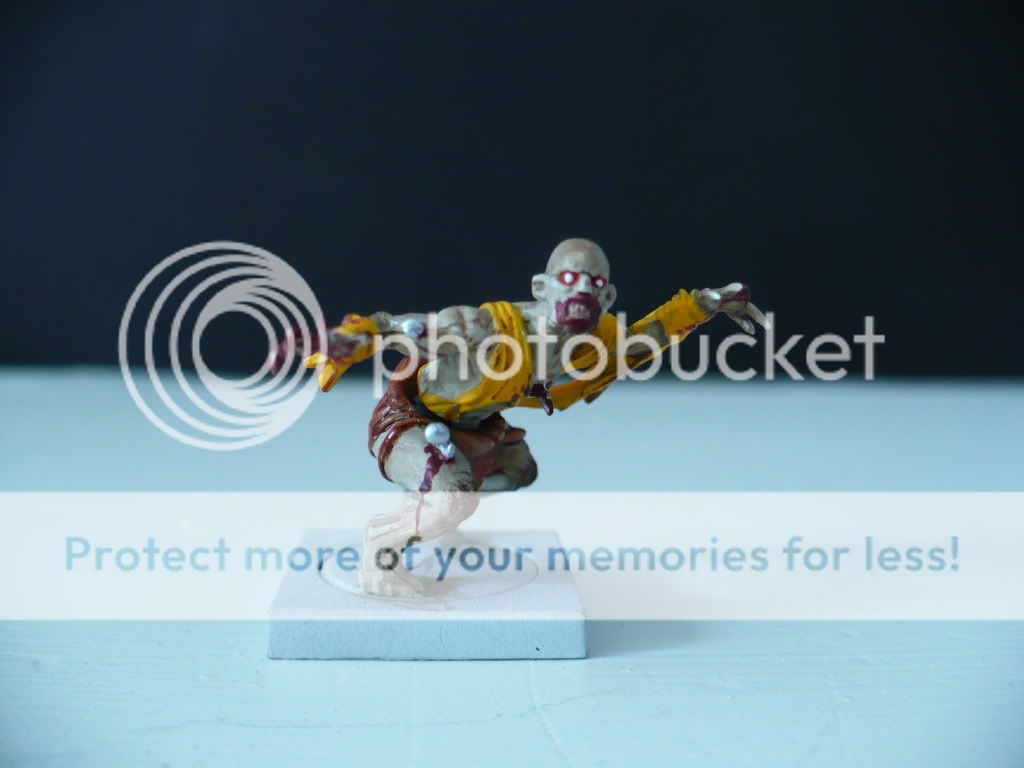
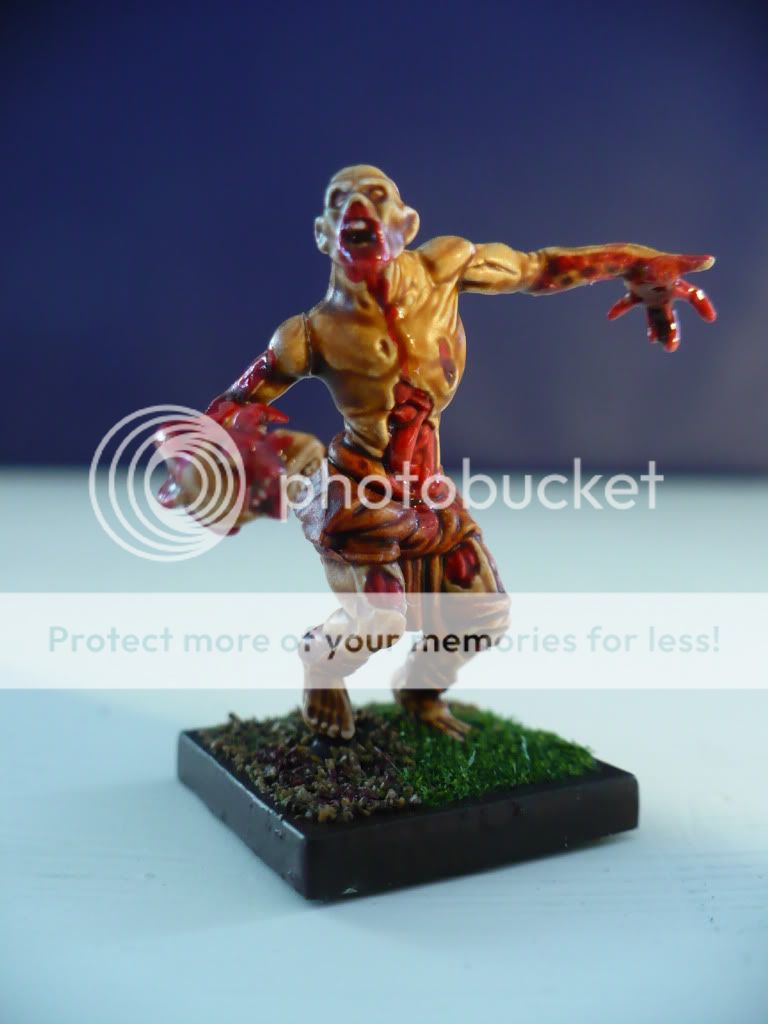
     After finishing my unit of skeletons I was really happy with the way they turned out and also in the way the polyshade had performed in adding depth and highlighting to the model in one quick and easy step. Next I wanted to get a start on my zombies. I planned on using the same technique I did with the skeletons, base coat all colors, polyshade, paint and flock the base, matte spray the whole model. Here was my first test model first just basecoated and then shown finished.


After using matte spray on the model to dull down the polyshade gloss finish, I decided I still wanted the blood and guts to look fresh, so I carefully went back over the bloody bits with a gloss clear varnish after.


     I was very satisfied with the test model and proceeded to paint up the other 19 zombies I had with a similar technique. I wanted them all to look as different as possible though so I used a variety of colors on the clothing and tried out several different shades for flesh colors. I had a lot of fun painting this unit and it went very quick for 20 models. Painting blood and gore just never gets old I guess.