Thursday, December 20, 2012

Completed 2 Player Battlebox

     So I finished painting the last model of my Protectorate army from the 2 player battlebox back in November. Thought I'd post up some pics of the completed force atop some fresh new terrain.


Wednesday, December 19, 2012

Hosting Games at my Place

     After getting some games in at Clockwork, I decided to post up an invite on our google group to host some games at my new place. I got some interested responses and within a week I hosted a couple guys from our gaming group at my place. I went out that morning to grab some extra hardboard for a makeshift extra table so we could have two games going. Unfortunately, our fourth person couldn't make it so we were stuck with an odd number. We decided to go with small games of 15pts since Jimmy this is only going to be Jimmy's second or third game. I sat out the first game and let Jimmy and Carrington play a game. There game went a bit long but I helped Jim learn his army a bit. Second game, I played Carrington and that went much faster.
     Overall, it was a good night and I hope to do some more soon.


Monday, December 17, 2012

A Couple New Pieces of Terrain

     In preparation for hoping to host some games at my place soon, I made a couple pieces of new terrain using blue insulation foam and my hot wire foam cutter. Here's some WIP shots of the first piece.


Sanded the angular edges and further roughed up the rocky areas with sand paper. This pic is after basecoating everything in black and then heavily drybrushing gray over the rock areas.


Next I did a lighter dry brush with pure white


finished product


Monday, December 3, 2012

My First Games Back at Clockwork

     My local gaming group at Clockwork has been finishing up a slow grow journeyman league so it was hard trying to get in a non league game but I managed to get in a couple and the league will be over this week , so then it's  back to normal Monday night gaming at the shop. Here are a few pics of a game against Justin. I played my Protectorate vs his Trollbloods at 25pts.


Saturday, December 1, 2012

Vassal

     After a few months away from painting or gaming I'm ready to get back into it. Should be getting in some games soon at Clockwork. Since my 2 player battlebox models are finished, here is my first expansion model, The Vassal of Menoth.


Friday, November 23, 2012

Finishing Up the 2 Player Battlebox

     Time to finally finish up my Protectorate side of the 2 Player Battlebox. I'm trying hard to not purchase anymore models until the one's I already have a finished. Soooo, I really want a choir and so time to finish things up. The last and final piece is the Crusader. I labored over shading the white on the shoulders for a long time and even stripped it and started over once. It's done though and I'm happy with it.


Wednesday, August 15, 2012

Vampire Counts vs Beastmen 750 pts

Got a game in with my Vampire Counts vs Beastmen at 750pts. We are both learning so it was longer than it should have been but fun. In the end the VC wiped the table with his beastmen.


Monday, August 13, 2012

More Vampire Counts: Spirit Host, Varghulf, and Necromancer

Continuing on with my latest inspiration to get my Vampire Counts army fleshed out a bit more and painted, I  finished one of my Spirit Host models, my Necromancer, and got a start on my Varghulf.

I really don't like the Games Workshop Spirit Host model, so I went looking for a better alternative. This is a  Reaper model and I absolutely love it. It was pretty easy to paint as well and the finished product looks good.


This is an old Necromancer model from the line of models for Mordheim that I had sitting around only primed for over a decade. Finally had a good reason to paint him.


Here is a WIP of my Varghulf proxy. This is also a Reaper mini. I do actually like the GW Varghulf model, I just don't like the price. This is much cheaper alternative and I really love the model.
I wanted the model to sit up a little higher so I had to do a little basing to lift it up. I ended up using jb weld as I was out of green stuff. It worked just fine actually.


Friday, August 3, 2012

Renewed Interest in Dead Guys

     Found a guy through dakkadakka to play Warhammer with and so it's inspired me to spend some time on my Vampire Counts army again. 

First up is a skeleton unit filler that I pieced together from my mantic skeletons sprue. It will count as 9 skeletons in a unit. 


I'm pretty happy with the way it turned out. Didn't take me a terrible long time either. Maybe 3-4 hours.


Here's a pic with it in the unit. works nicely in the center.


Wednesday, May 30, 2012

First Pieces of Terrain

     I've really enjoyed playing Warmachine and getting to know a few of the guys that play there a little bit. I would really like to get some games going here at my place this summer. As much as I do enjoy playing at the shop, I'd prefer a relaxed game in a more comfortable setting with a beer in one hand and a tape measure in the other. But in order to do that, I've got to have something to play on. I decided to build a playing surface and get started on some terrain. I wanted to go super cheap on the both the playing surface and the terrain. For the playing surface I just bought a 4'x 8' piece of 1/8" hardboard and cut them into 2'x 4' sections so it would be easier to store. Next, I just purchased a bit of green felt from the fabric store and used spray adhesive to attach the felt to the hardboard. I made three pieces so I could use two to make a
4' x 4' board for Warmachine or three pieces for a 4' x 6' board for Warhammer. It's not the most ideal playing surface, but it works and it only cost me about $20.


     For terrain I picked up a 2' x 8' pieces of blue insulating foam. You can get this at Lowes or Home Depot for pretty cheap. I used my Woodland Scenics hot wire to cut irregular shapes into the foam to create terrain. I also used spray adhesive to glue multiple layers of foam on top of each other to get more height out of my piece of terrain. These are the first two pieces I came up with.

On this first piece I shaped three pieces of the 1" thick foam with the hot wire, glued them together with spray adhesive, and put a little woodland scenics foam putty on it to fill some seams and give it a little more texture. I also sanded the top edge and a few other places with some 220 grit sand paper to taper some edges down a bit.


On this next piece I shaped three small pieces of foam this time though splitting them in half to get the wall thickness to about a half inch. I also cut a piece of foam core for the base and tapered the edges down with sand paper. I made the grooves in the wall with a ball point pen and just pressed into the foam. Lastly I glued the pieces onto the base.


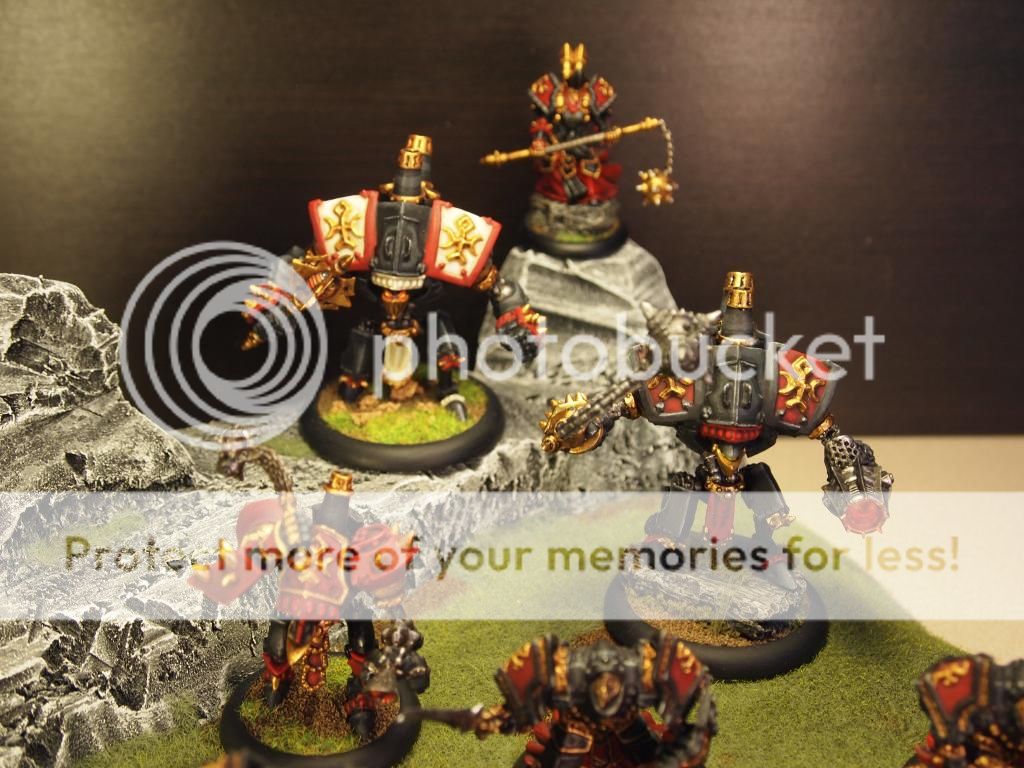
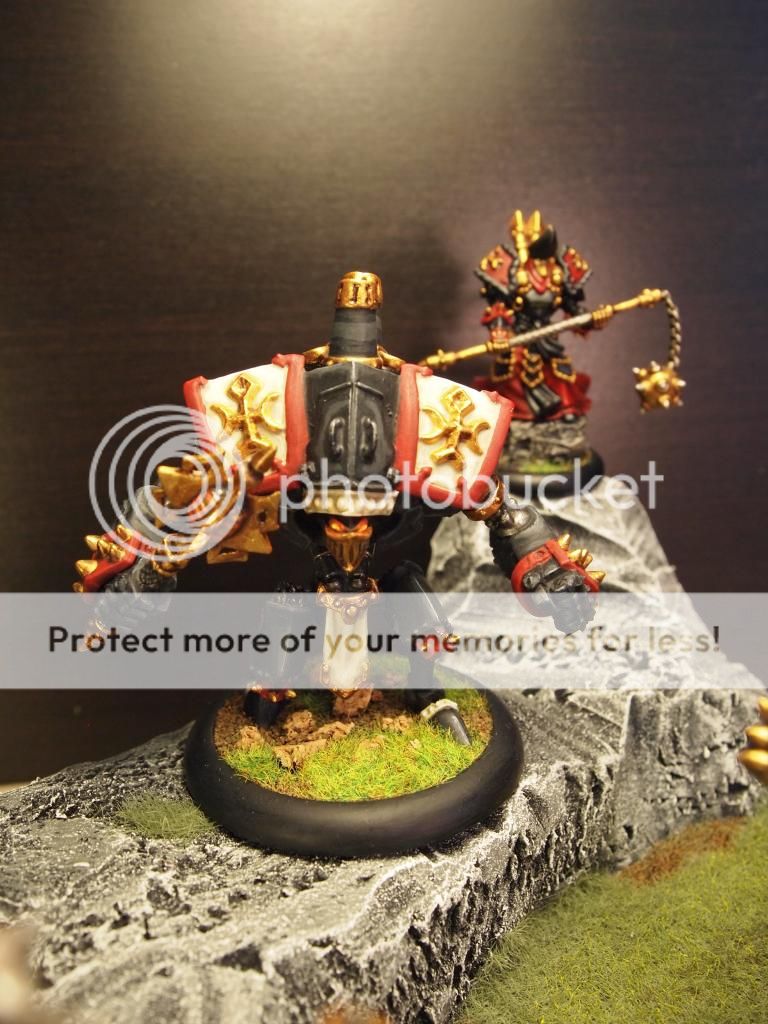
Here are the two finished products. For the stone color I basecoated everything first in black. After that was dry I did a heavy drybrushing of a medium gray. Then I did a lighter drybrush of pure white to hit the highest points and corners on the piece. Lastly I added bits of static grass and sand. All in all it took my about 4 hours to complete both pieces from start to finish.


Monday, May 21, 2012

First Protectorate Models Painted

     Spent a fair amount of time thinking about what color scheme I was going to go with for my Protectorate force. I had decided that I definitely did not want to go with the white stock studio scheme. I wanted my army to have a more repressive, regime, religious zealot feel to it and less holy holy holy, lawful goody, paladin, etc. I ended up settling on a primarily black, red, and gold scheme. I had also decided that I was going to take my time painting these models and try and improve my painting skills along the way. I did spend my time on them and practiced different techniques for applying paint, using washes, applying highlights, determining shadows, etc. I wasn't sure exactly how to paint black, shade/highlight it, and make it look good. I read up a fair bit on this and eventually after some trial and error came up with a pretty good system for painting black. I also labored over getting just the right shade of red. I wanted a deep scarlet red. In the end I'm very happy with the way my first models turned out.