Wednesday, January 30, 2013

Reckoner/Castigator/Sanctifier Jack Finished!

     Took me much longer than I anticipated but I finally finished the model. I had fun painting it and it's probably my best thus far.


Tuesday, January 22, 2013

Magnetizing and Getting Ready for Paint

     To attach the jack to the base I pinned everything together. I added some material to the bottom of the base so the brass rod had something to "hold on" to. The bases themselves are just too thin to support anything.


     I ended up making a cast of a Man O War shocktrooper shield to use instead of the shoulder pad I previously had. I wanted the wrecked shocktrooper to appear half buried in dirt and debris, so I needed to add some height to the ground to bury and partially cover some of the shocktrooper. I tried out jb weld this summer for this kind of application and it worked pretty good and it kind of self levels and smooths itself out; so, it's easy to work with.


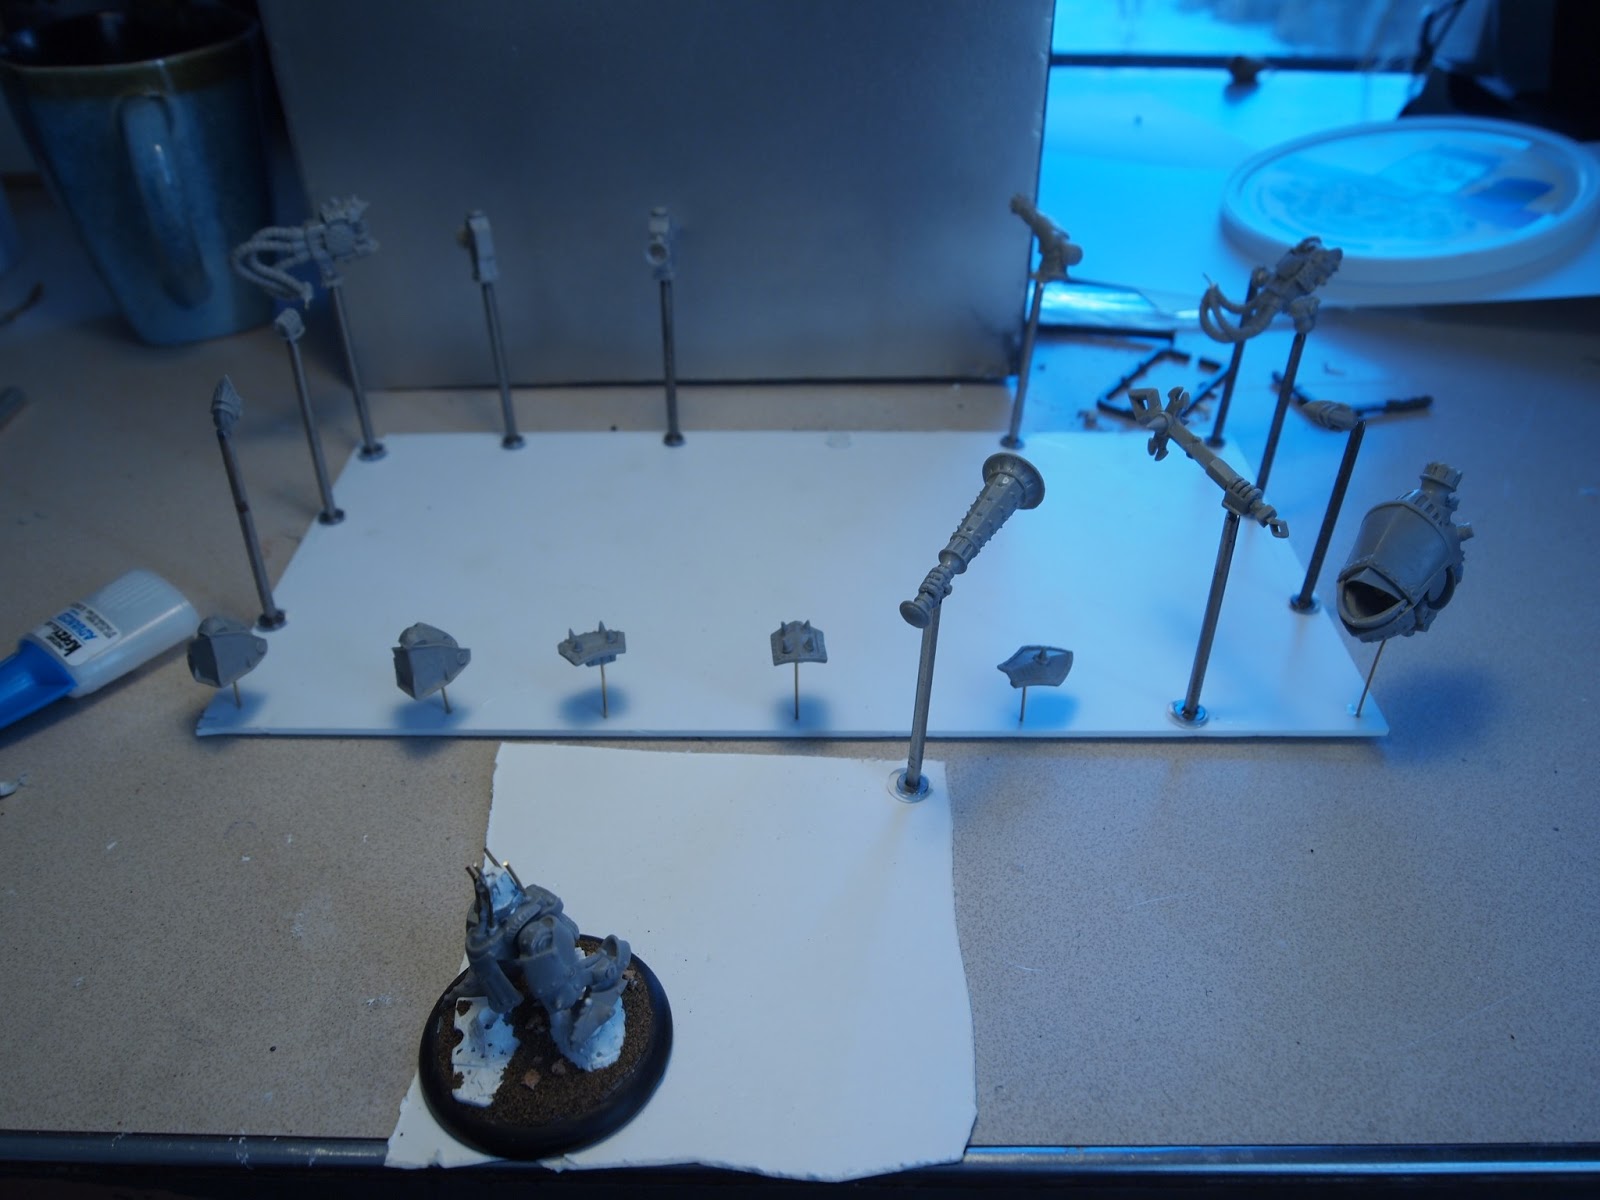
     I magnetized all the arms so it can function as a Sanctifier, Reckoner, or Castigator. It was a little tricky finding a neutral place to put the magnet into the shoulder so that all the arms for the three jacks could have a good pose to them. I ended up heating up one Castigator arm in hot water in order to bend it a little to achieve a better pose. In the pick below you can see where I inserted magnets and also I'm using a small pin with a hole drilled in the torso to help properly position the hoses on the Castigator arms.


     Here's some pics with it in it's three different forms.I also added some sand and grit to the base.


     And finally all ready for primer! This will be my first model that I've painted in pieces prior to assembly. It's not always necessary but it can make it easier for getting paint to areas that would have been difficult with it fully assembled plus there are already 3 sets of arms and three heads. Next post I should have some updated pics with some paint on it!


Sunday, January 20, 2013

Continuing Work on My Warjack

     Now that the leg modification is finished, time to move on to the height extension of the mid section. I didn't document this process as well, but I ended up using plastic from a sprue and some milliput to give the basic height structure. Then, I trimmed back the pipes/struts/hoses or whatever you want to call them, drilled down into where they come out of the pelvic area, and extended them using brass rod. I'm hoping once its all together it will look good. I left the brass rod extended past the plastic so I can drill into the bottom of the torso piece to help secure the brass rod in place and give the model strength. You also might notice that the model is going to be standing on the torso of a wrecked Man O War Shocktrooper. I did a cast of the plastic MOW pieces using instant mold and milliput.  If you haven't heard of instant mold, check it out; it's really neat stuff. This is my first try at using instant mold and milliput. Took me some trial and error but it came out good enough to work as a wrecked shocktrooper.


     Here is the model mocked up with the torso drilled and attached. I think it will turn out looking just fine.


Saturday, January 19, 2013

Battle Report App

     So, I saw this app on the Privateer Press forums for doing battle reports. It was only a $1 so I picked it up to try it out. Had a few games Wednesday night at my place, and decided to give this app a try. It works pretty great actually although my pics are terrible. The lighting was not very good and some pics are a bit blurry. I did add a title screen and a little music but other than that everything was done using the app.


Friday, January 18, 2013

A Little Conversion

     I received this as one of my Christmas gifts this year but I made myself finish my choir models first before starting in on this one. I've pledged to myself to only play with painted models this year and also to  not purchase anymore Warmachine/Hordes models until what I have is painted. Well now that my choir is done, I'm getting a start on this. I decided to spend some extra time on this model and do a bit of converting. Nothing major but my plans are to do a minor repose and to extend the height of the jack in the mid section to make it a bit taller.


The plan was to modify one leg to make it straight instead of both legs being bent and the jack completely squatted. 


After cutting the one leg, I removed material that was facing back at an angle.


Next, using some spare plastic I fashioned a piece to straighten out the leg's stance.


Finally, I pinned it with some brass rod to give me a little more freedom to mock it up before gluing it in place as well as some added strength.


The finished piece next to the other leg


Thursday, January 10, 2013

Finished my Min. Choir Unit...... finally

     It's been hard finding the time to paint for any amount of extended time so I've had to paint these guys a little bit at a time here and there. They are done though, finally! Just finished this morning, my min. choir.


These are the first models that I have marked forward arc on. I hadn't done so on models in the past because I just didn't care for the way it looked. I thought and read a bunch on different ways to do it that would be subtle and not take away from the model. I ended up thinking that maybe just a thin line of gloss over the flat finish of the rest of the base would be noticeable only if you were looking for it. It turned out well and is just noticeable enough to be useful but without standing out.